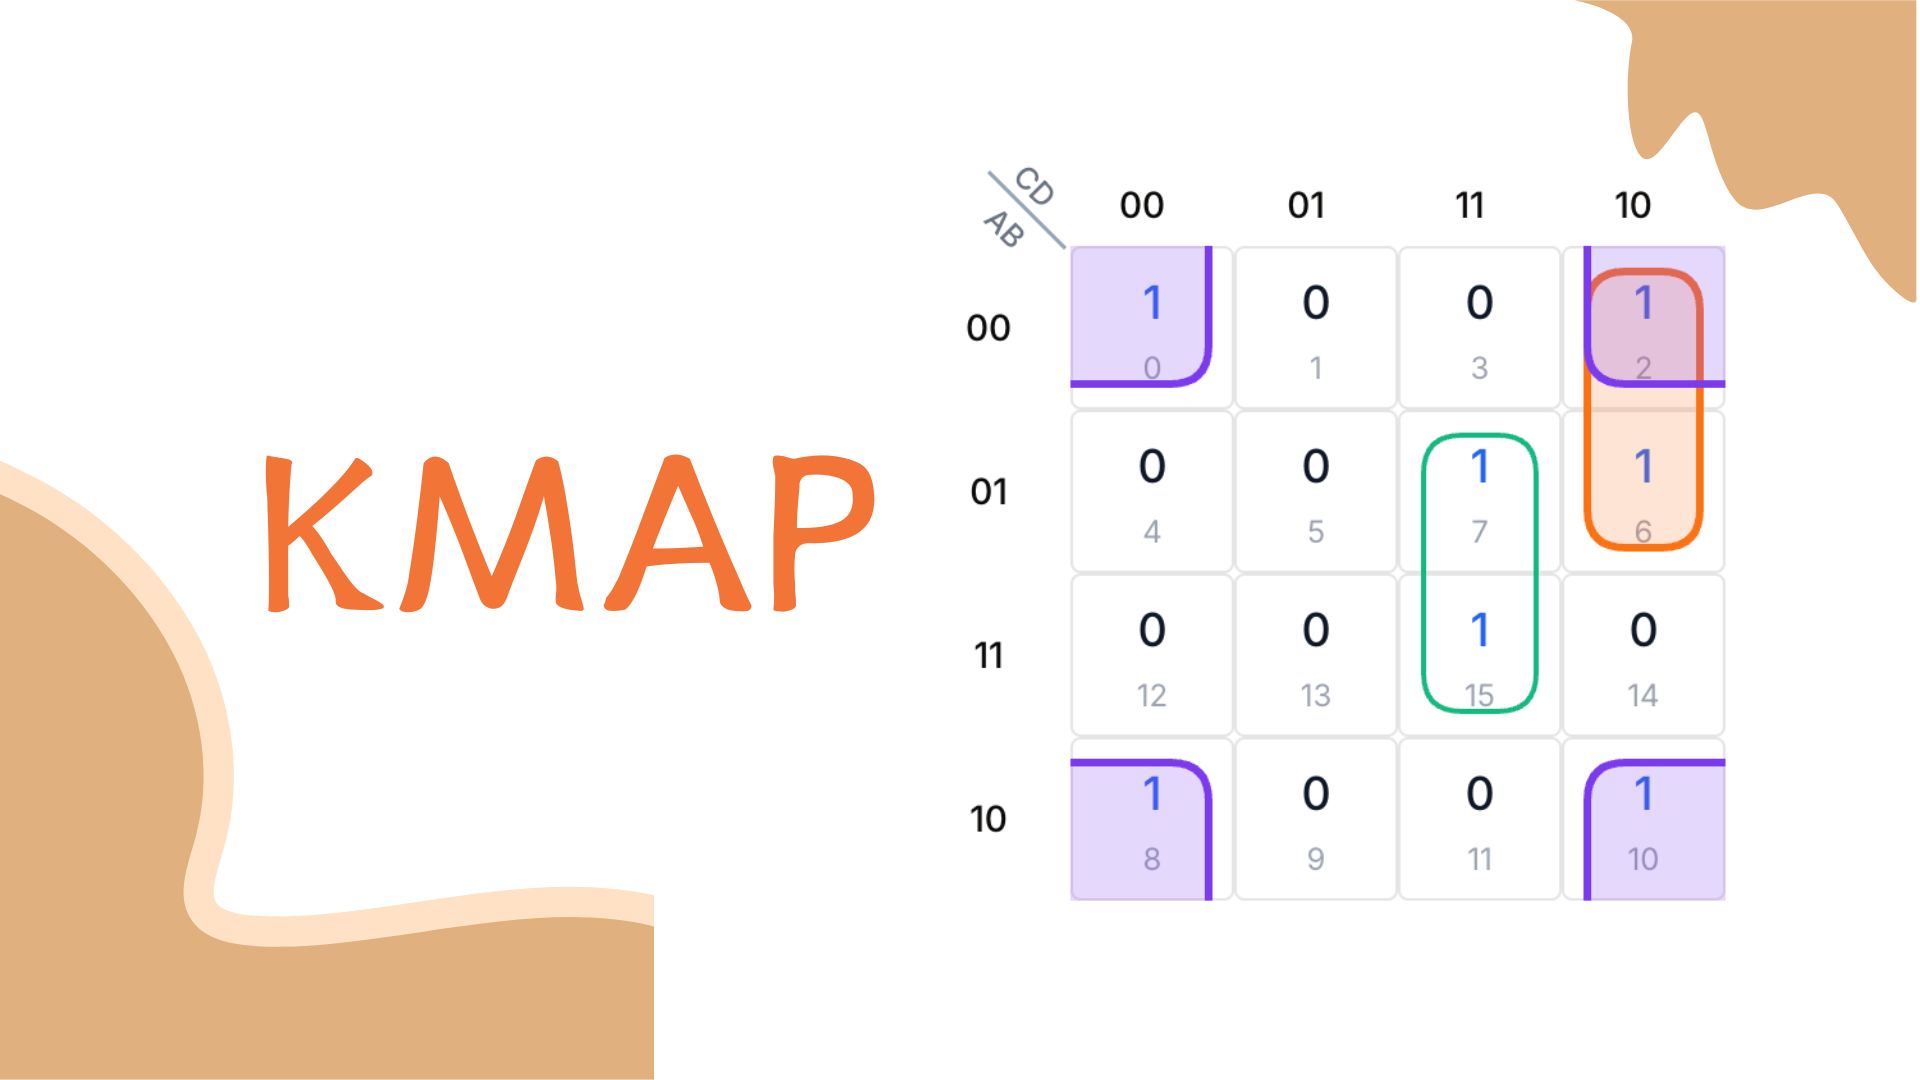
How to Solve a 4-Variable K-Map: A Step-by-Step Guide
What is a K-Map and Its Role in Digital Logic
K-Map, short for Karnaugh Map, helps simplify Boolean expressions in digital logic. These expressions act like instructions for digital circuits, using true and false values to turn inputs into outputs. Simplifying them makes circuits smaller, faster, and cheaper to build.
K-Map uses a grid of squares to do this. In a 4-variable map, it has 16 squares. Each square shows a unique combination of four inputs. The squares sit next to others that differ by just one input. This setup lets us spot patterns and group similar outputs to simplify the expression.
K-Maps shine because they're visual and easy to use. They beat pure math methods by cutting down mistakes. They work best with four or five variables, which fits most real-world circuit designs.
K-Maps were introduced by Maurice Karnaugh in 1953, based on Edward Veitch's work, and have since become an essential tool in digital circuit design.
Setting Up the 4-Variable K-Map
Understanding the Grid and Variable Assignment
A 4-variable K-Map starts with a 4×4 grid. This grid has 16 squares, one for each possible mix of four inputs: A, B, C, and D. We label the rows with pairs of A and B on the side. The columns get pairs of C and D on top. Then, we fill each square with a 1 or 0, depending on the logic problem. This turns the problem into a picture we can simplify.

Importance of Gray Code in K-Maps
Look at a 4-variable K-Map. The row and column labels don't go 00, 01, 10, 11 like normal counting. They use Gray code: 00, 01, 11, 10. This isn't random. Gray code changes just one bit at a time. For example, from 01 to 11, only the first bit flips.
This matters a lot. Each square in the K-Map shows a mix of variables. Neighboring squares differ by only one variable, thanks to Gray code. This makes grouping easy when we simplify the expression. Without Gray code, the squares wouldn't line up right, and grouping would get tricky.
Binary Code
Gray Code
Plotting the Function
Converting the Boolean Function to Minterms
To use a 4-variable K-Map, we first find the input mixes that make the Boolean function true. We call these minterms. Take this function: F = A'B'C'D' + A'B'CD' + A'BC'D + A'BCD + AB'C'D' + AB'CD'. Each part shows a mix of A, B, C, and D that gives a 1. These match minterms 0, 2, 5, 7, 8, and 10.
F(A,B,C,D) = A'B'C'D' + A'B'CD' + A'BC'D + A'BCD + AB'C'D' + AB'CD'
= Σm(0,2,5,7,8,10)
Plotting Minterms on the K-Map
Next, we put these minterms on the K-Map grid. Each square ties to a minterm number. We mark a 1 in the squares for minterms 0, 2, 5, 7, 8, and 10. All other squares stay 0.

Simplifying the Function
Grouping Techniques: Size, Shape, and Position
After plotting the minterms, we group the 1s on the K-Map. Grouping simplifies the logic expression. We focus on three things: size, shape, and position. Let's look at each one.
Size: Go Big When You Can
We make groups as big as possible. A group can have 1, 2, 4, or 8 squares. Bigger groups simplify more. For example, a group of 4 beats a group of 2. We aim to cover all 1s with the fewest groups.
Shape: Stick to Rectangles
Groups must form rectangles. They can be a row, a column, or a block like 2x2. Shapes like Ls or zigzags don't work. Rectangles keep the logic simple and follow K-Map rules.
Position: Use the Grid Wisely
We place groups to cover the most 1s efficiently. Groups can sit on edges, wrap around, or overlap if it helps. This makes simplification clear and easy.

Group of 2

Group of 4
Handling Edge Cases and Wrap-Around Groups
Some 1s on the K-Map look far apart. But the grid loops around, connecting opposite edges. This lets us group 1s that don't seem close. Here's how it works with examples.
Edges That Connect
Imagine 1s on the top row and bottom row. They look separate, but the K-Map wraps up and down. This links the top to the bottom, making one group. The same goes for left and right edges. They connect side to side for grouping.
Corners That Link Up
Now picture 1s in all four corners: top-left, top-right, bottom-left, bottom-right. They seem spread out. But the K-Map wraps both ways, joining them into one group of four.

Group of Horizontal

Group of Edge
Deriving the Simplified Expression
Interpreting Groups to Form Product Terms
After grouping the 1s, we turn each group into a product term. These terms use A, B, C, and D. We look at what stays the same in a group. If a variable changes, we leave it out. This makes the term simpler. Let's see examples for groups of 2, 4, and 8.
Group of 2 Squares
Take a group of two squares side by side. Say the expression is AB'C'D + AB'CD. A stays 1, B stays 0, D stays 1, but C flips from 0 to 1. We skip C. The simplified term is AB'D.

Group of 2 Squares

Group of 2 Simplified
Group of 4 Squares
Now take a 2x2 block of four squares. Say the expression is A'BC'D + A'BCD + ABC'D + ABCD. B stays 1, D stays 1, but A and C change. We drop A and C. The simplified term is BD.

Group of 4 Squares

Group of 4 Simplified
Group of 8 Squares
For eight squares, half the map.Say the expression is A'B'C'D' + A'B'C'D + A'B'CD' + A'B'CD + A'BC'D' + A'BC'D + A'BCD' + A'BCD. A=0 stays the same, but B, C, and D change across all mixes. Only A matters. The term is A'. Bigger groups mean shorter terms.

Group of 8 Squares

Group of 8 Simplified
Why Simplification Works
Grouping simplifies because it bundles input mixes. If a variable changes in a group, it doesn't affect the pattern. We drop it and keep what's steady. Each term, like A B' D or A', is a simple piece of the answer.
Constructing the Final SOP Expression
Now we combine all the product terms. We use plus signs to join them into a Sum of Products (SOP) expression. For example, if our groups give A B' D, A D', and A', we write A' + A B' D + A D'. That's the simplified result.
Advanced Grouping Strategies
When to Consider Overlapping Groups
Sometimes a 1 fits into more than one group. We call this overlapping. It helps simplify even more. Use it when a 1 doesn't fit one group neatly or when sharing it cuts down the number of terms.
Picture below at row 2, column 3. It joins a row group of four and a column group of two. Overlapping like this can make the final expression simpler.

Overlapping Group
Conclusion
Summary of the K-Map Simplification Process
Simplifying with a 4-variable K-Map is like solving a puzzle. We set up a grid and plot the 1s from our Boolean expression. Next, we group the 1s into rectangles of 1, 2, 4, or 8 or more squares. Let's aim for the biggest groups. They can wrap around edges or corners, thanks to Gray code. Each group turns into a simple term. Fewer terms make our result simpler. We cover all 1s with the fewest groups and write the final expression. It's a clear, visual way to tackle digital logic.
Key Takeaways
- 1Understand the K-Map grid structure and variable assignments
- 2Plot the minterms on the K-Map
- 3Form the largest possible rectangular groups of adjacent 1's
- 4Derive the simplified expression from the groups
Resources for Further Practice
Practice with interactive K-Map solver that visualize the simplification process. Try our K-Map Solver to experiment with your own Boolean expressions.

